Boring Suspension Bits
The Westfield’s suspension is completely adjustable. That’s a good thing, because it is very sensitive to how the suspension is set up.
That’s great in theory, but it’s a bit more complicated in practice. Let’s look at how you actually adjust the toe-in and camber in the rear. The lower A-arms end in a pair of connectors which are known as “4-bar rod ends”. They look something like this:

The threaded end goes into the end of the A-arm and you can rotate it by integer multiples of 1/2 rotation to move the bushing in or out. A shaft passes through the bushing and through holes in the bottom of the hub. If you move the front ones in a turn, you’ll get more toe-in. If you move both of them out, you’ll get more negative camber. The changes are inter-related and a bit non-linear, so in practice it usually takes several iterations to hit the numbers you want. There’s usually a grease stained piece of paper on the garage floor that’s covered with measurements from the different iterations as you try to guess what tweak to try next.

But it’s even more complicated than that. The Westfield’s suspension was designed for hubs off of some English car (Ford Cortina maybe?) The holes through the bottom of those hubs are 7/16″, so that’s the size of the bushings and shaft. But the hubs on my car are from a Mazda, and they have 14mm holes. Westfield’s fix for this was these funny looking hats:
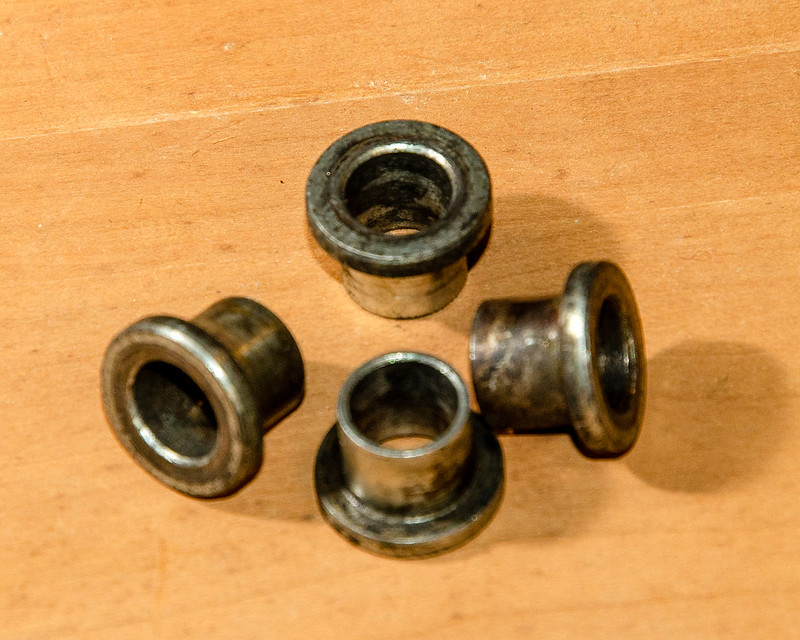
Those are bushings which go in between the shaft and the hub and have 14mm OD and 7/16″ ID. Well, nominally. The reality is that the shafts are actually a bit undersized, and the ID of the bushings are oversized. In addition the tolerances are awful and no two pieces are quite the same size.
The result is that the location of the rear wheels actually wanders more than the tolerances on the settings you’re trying to dial in. This is obviously a bad thing! My fix for this was to fit brass shim stock in between the bushings and shaft to tighten everything up. Doing that is a fussy job and takes quite a while. But when you’re doing those iterations I described above, you can’t get an accurate measurement without the shims. That means that adjusting the suspension is a painfully slow process. I’ve really never had the patience to get it dialed in very well because of this.
But recently I got access to a lovely old 9″ South Bend lathe. I used that to make a new set of bushings from scratch. I used a boring bar to get an inside diameter that exactly matches the shafts. No more wobble and no more shim stock! I can now do one of those iterations in about 10 minutes.
This morning I got the new bushings installed and spent an hour or two iterating on those adjustments. The result is much closer than I’ve ever gotten it before.


